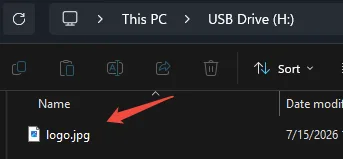
Prerequisites:
- The device supports two types of output screens for custom boot logos: CVBS analog screen and VGA digital screen. The two types of images have different parameter standards and must be created according to the screen type. Images that do not meet the specifications will result in the boot logo not displaying, a black screen, or a stretched image.
- Unified Mandatory Specifications (Applicable to both image types) File Name: Must be named logo.jpg, case-insensitive, and the file extension must be .jpg. Color Standard: 24-bit true color, only JPG format is supported, PNG, BMP, WebP, and other formats are prohibited. File Size: The saved image size must be less than 120KB; devices exceeding this limit will not be able to load it.
- Screen Resolution Standards CVBS Output Screen: Fixed resolution 720 pixels wide × 576 pixels high VGA Output Screen: Fixed resolution 1024 pixels wide × 768 pixels high
Sample Image (Click to download):
Default logo (CVBS/VGA compatible): logo.jpg Test logo (CVBS): [logo.jpg](http://pug2.4000329988.com/server/index.php?s=/api/attachment/visitFile&sign=954834f073ba915fbfc67bf2a8f0ad97 "[logo.jpg]) Test logo (VGA): [logo.jpg](http://pug2.4000329988.com/server/index.php?s=/api/attachment/visitFile&sign=520dad46996b3f7558572c413b87c0ce "[logo.jpg])
Operation Steps:
Creation Tool: Windows built-in "Paint" (recommended, no additional download required)
Other tools can also be used to edit and modify the image, as long as it meets the image specifications above.
Step 1: Create a new standard-size canvas (avoid image stretching)
Search for "Paint" in the lower left corner of Windows and open the built-in Paint software.

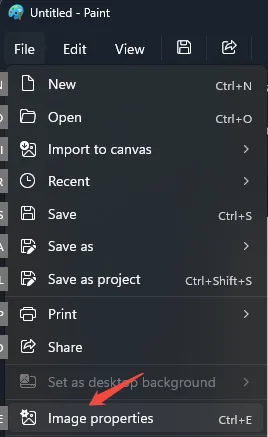
Click "File" → "Properties" in the top menu bar.
Select "pixels" as the unit and enter the corresponding values based on your device's screen size: CVBS screen: Width 720, Height 576 VGA screen: Width 1024, Height 768
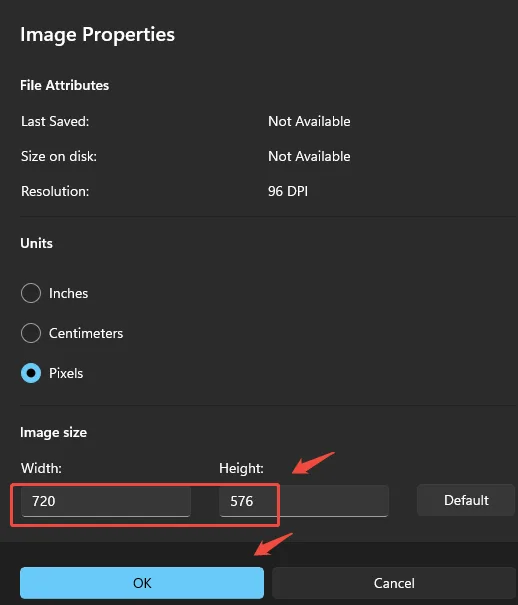
Click "OK" to generate a standard blank canvas without stretching.
Step 2: Import LOGO Material
Import or copy your company logo material Paste the logo, text, and background image into the canvas. Drag the material to adjust its position. It is recommended to center the entire image, leaving a safe area at the edges and just covering the edge of the white canvas to avoid screen cropping.
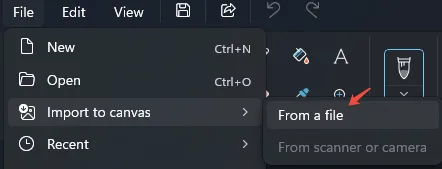
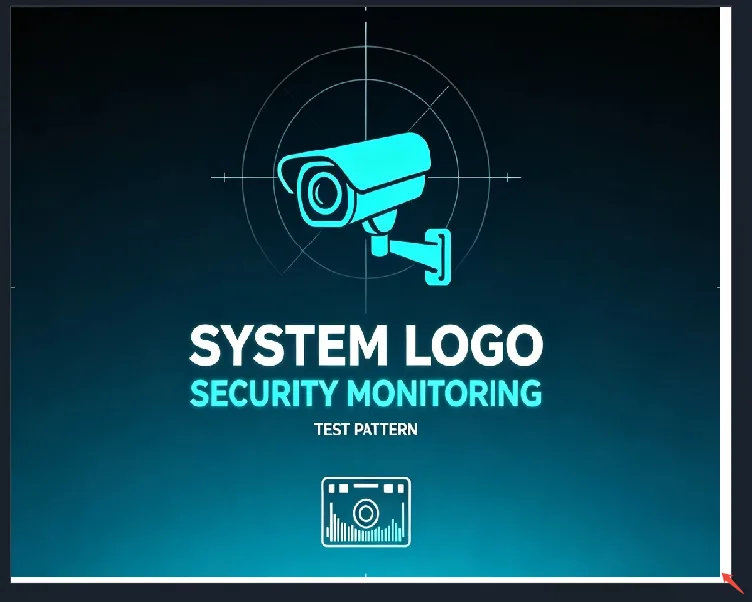
Step 3: Export a compliant logo.jpg file
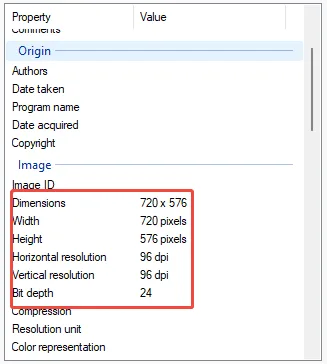
Top left corner "File" → "Save As", select [JPEG] as the file type Rename the file to logo.jpg and click Save Verify file compliance: Right-click the image → "Properties" View details: Bit depth = 24, resolution matches screen specifications View size: File size < 120KB; if the size exceeds the limit, save again and reduce the image quality slider to compress the file.
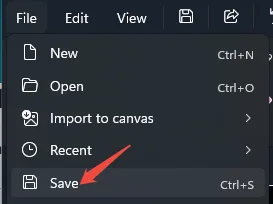
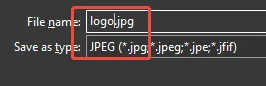
Step 4: Import to Device
Copy the image to the root directory of a FAT32 formatted USB flash drive or an SD card that is already in use on the MDVR device. Insert the USB flash drive, power on the device, and the import will be completed automatically. Restart the device and observe whether the screen displays the image normally. Importing images from the SD card should be done in the same location as the configuration. Reference: CMSV7--Import local configuration to register private platform