Prerequisites
- Available remote control, normal display screen
- The camera is inserted and the picture is displayed (refer to basic configuration --- Remote control configuration camera resolution, format)
Note:
- Here CH1 CH2 CH3.channel refers to the device back panel camera inserted into the corresponding video input port AV1 AV2 AV3.For details, please see the "Interface Status Definition" article
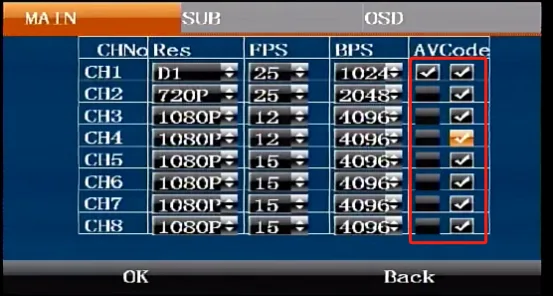
- The prerequisite for opening the audio of the corresponding channel is to insert the corresponding camera with a microphone to support audio. Currently, the M51HV series models support up to four channels of audio from CH1 to 4, and other models support up to two channels of audio from CH1 to 2. For specific specifications, please ask our staff
- By default, all channel video encoding will be turned on. Turning off the video encoding of a channel here will result in no picture. The channels must be closed from bottom to top. You cannot close a channel from the middle, such as turning on CH1 CH2 and turning off CH3 Turning on CH4 video encoding will cause system abnormalities
Operation steps
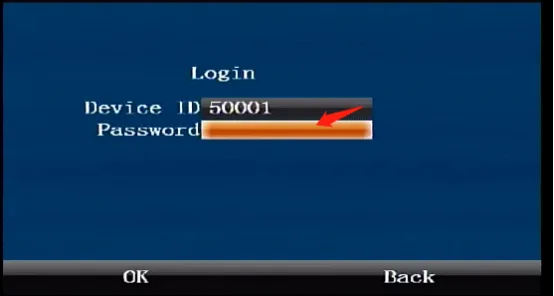
Press the remote control [ENTER] button to enter the login interface, enter the password "999999", and automatically log in to the main menu
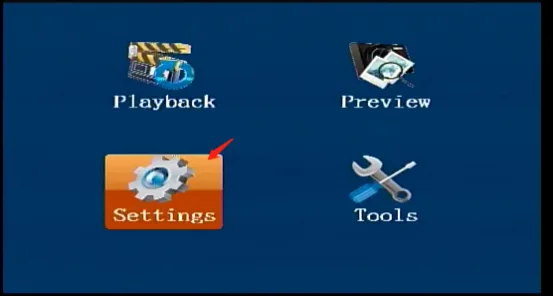
Select [Settings] on the main menu interface and press the "ENTER" button to enter the settings interface
Move to [Encode] in the settings interface and press the "ENTER" key to enter the main stream settings
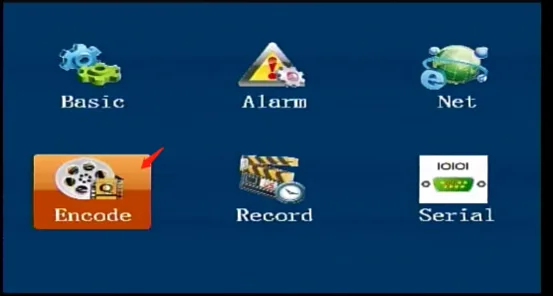
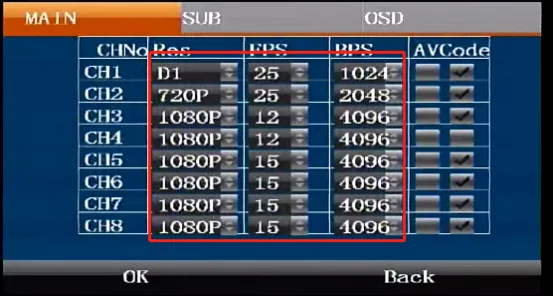
Press the "ENTER" key in the main stream settings interface to enter the editing state, move the down key to the channel resolution selection item and select the required resolution. The corresponding frame rate and bit rate will automatically match the optimal value. It is not recommended to modify the frame rate and bit rate separately here. Move to the right check box to enable the audio and video encoding of the corresponding channel, confirm to save and restart to take effect.